Django 是一个 使用python作为后端语言的框架。 学习 Django 源于我想要让我的 jandan 脚本可以提供在线服务…… 没想到这个东东这么复杂, 亏了呀!
安装Django
https://docs.djangoproject.com/zh-hans/4.1/intro/install/ 如果在系统范围安装,安装前需要先装好python3.x。 官方教程还建议使用venv虚拟环境的方式,不过我一直弄不太懂venv,就不尝试了。
python -m pip install Django
检查是否安装成功:
python -m django --version
新建项目
创建
django-admin startproject mysite
项目会创建一个如下图的目录,关于这些文件都是干啥的可以参考这个链接: https://docs.djangoproject.com/zh-hans/4.1/intro/tutorial01/
实际上一般只有 urls、settings 两个文件大概会用到
启动
启动项目,我们只要运行刚才生成的manage.py
python manage.py runserver
http://127.0.0.1:8000/ 打开看看吧!
可以通过下面的命令来自定义端口
python manage.py runserver 8080
刚才我们创建了一堆 python 文件,可以在运行时热重载,但如果添加了新文件,就要重新启动 manage.py 了。
新建APP
创建投票应用
进入 manage.py 目录
刚才创建的是 django 的基础架构,我们现在添加一个 polls app (投票应用),自己添加 app 的时候可以随便命名。
python manage.py startapp polls
创建视图
要在 polls 应用下面创建一个视图,http://127.0.0.1:8000/polls/index
需要修改两个文件:views.py & urls.py
在views.py
from django.http import HttpResponse

def index(request):
    return HttpResponse("Hello, world. You're at the polls index.")
polls/urls.py还不存在,新建一个urls.py如下:
from django.urls import path
from . import views

urlpatterns = [
	path('', views.index, name='index'),
]
还要去mysite/urls.py ,指向一下这个新建的 polls/urls.py 。
(可以理解为这个是管根目录的,我们刚才那个是管/polls目录的)
from django.contrib import admin
from django.urls import include, path

urlpatterns = [
	path('admin/', admin.site.urls),
	path('polls/', include('polls.urls')),
]
然后访问: http://127.0.0.1:8000/polls/ 就可以了。
逻辑上,django 先请求
mysite/urls.py,指向了polls/urls.py再指向 views.py 文件返回 respond 。
path函数
函数 path() 具有四个参数,
- 两个必须参数:
route和view, 路径 / 对应的 py 函数 - 两个可选参数:
kwargs和name。传参用 / 全局引用、模板使用。
这部分我觉得官网讲的非常清晰简洁(再页面最下方): https://docs.djangoproject.com/zh-hans/4.1/intro/tutorial01/
设置-时区
时区在后面数据库中非常有用(比如数据插入时间), 推荐先设置成正确的时区。
在 settings.py 中修改这个
TIME_ZONE = 'UTC' #美国时间(默认)
TIME_ZONE = 'Asia/Shanghai' #中国时间
设置参考(这个网站包含所有的 settings.py 的项)
https://docs.djangoproject.com/zh-hans/4.1/ref/settings/#std-setting-TIME_ZONE
设置-数据库
生成数据表
这个语句自动创建 INSTALLED_APPS 中的表。
python manage.py migrate
基础知识
数据库的配置在 mysite/settings.py 中,如下所示,可以使用各种数据库:
'django.db.backends.sqlite3'
'django.db.backends.postgresql'
'django.db.backends.mysql'
'django.db.backends.oracle'
默认使用sqlite,其他的可以看文档: https://docs.djangoproject.com/zh-hans/4.1/ref/settings/#std-setting-DATABASES
下面是默认配置:
DATABASES = {
	'default': {
		'ENGINE': 'django.db.backends.sqlite3', #换数据库修改这里
		'NAME': BASE_DIR / 'db.sqlite3',
	}
}
django 提供一些自带的 APP,可以在 settings.py 里面看到 , 迁移时会自动根据已经安装的APP来创建数据表。:
INSTALLED_APPS = [
    'django.contrib.admin',
    'django.contrib.auth',
    'django.contrib.contenttypes',
    'django.contrib.sessions',
    'django.contrib.messages',
    'django.contrib.staticfiles',
]
创建模型
上面 INSTALLED_APPS 能生成的数据表,不包括我们新创建的 polls APP ,这里开始逐步把它加入
需要创建两个模型:问题 Question 和选项 Choice。
Question问题Choice选项和当前得票数,连接到Question
修改 polls/models.py,内容如下:
from django.db import models

class Question(models.Model):
    question_text = models.CharField(max_length=200) #问题内容
    pub_date = models.DateTimeField('date published') #问题发布时间

class Choice(models.Model):
    question = models.ForeignKey(Question, on_delete=models.CASCADE) #外链到问题
    choice_text = models.CharField(max_length=200) #选项内容
    votes = models.IntegerField(default=0) #选项票数
- 主键(IDs)会被自动创建
- 表名首字母大写
- 字段小写英文,下划线相连
通过这个polls/models.py,django 可以得到创建数据库的信息。
我们需要把自己的app也加入mysite/settings.py 的INSTALLED_APPS列表中:
INSTALLED_APPS = [
    'django.contrib.admin',
    'django.contrib.auth',
    'django.contrib.contenttypes',
    'django.contrib.sessions',
    'django.contrib.messages',
    'django.contrib.staticfiles',
    'polls.apps.PollsConfig', #这一行
]
激活模型
这个步骤是下面的创建表的前置步骤
运行 makemigrations 命令,Django 会检测你对模型文件的修改,在 polls/migrations 生成数据库表的 schema ,Django 通过schema 来创建数据表。我们刚才创建了 polls/models.py , 用这个语句“激活”它。
python manage.py makemigrations polls
(迁移用)生成建表语句,会根据你在 mysite/settings.py中选择的数据库种类,输出对应的建表语句:
python manage.py sqlmigrate polls 0001
再次生成数据表
python manage.py migrate
模型 的 __str__ 函数
给模型增加
__str__函数,在后面使用 python shell 添加数据时,可以更轻松的看懂、更易读。
给polls/models.py新增两个def __str__(self):
from django.db import models

class Question (models.Model):
    question_text = models.CharField(max_length=200)
    pub_date = models.DateTimeField('date published')
    def __str__(self):
        return self.question_text

class Choice(models.Model):
    question = models.ForeignKey(Question,on_delete=models.CASCADE)
    choice_text = models.CharField(max_length=200)
    votes = models.IntegerField(default=0)
    def __str__(self):
        return self.choice_text
再添加一个was_published_recently(self)函数,可以给Question增加一个“最近发布”的功能:
from django.utils import timezone

class Question(models.Model):
	...
    def was_published_recently(self):
        return self.pub_date >= timezone.now() - datetime.timedelta(days=1)
去 py shell里面看一下,刚刚写的函数有没有效果
python manage.py shell
from polls.models import Choice, Question
Question.objects.all()
#<QuerySet [<Question: What's up?>]>

q = Question.objects.get(pk=1)
q.was_published_recently()
## True
尝试数据库API
下面的语句都是在py shell中执行的
python manage.py shell
manage.py 会设置 DJANGO_SETTINGS_MODULE 环境变量,这个变量会让 Django 根据 mysite/settings.py 文件来设置 Python 包的导入路径,(我发现这个python shell 有补全功能)
增加条目
通过python 语句 增加条目,首先要引入我们刚才写的models
from polls.models import Choice, Question
新建一个 question,并保存到数据库中
from django.utils import timezone #需要用到时区获取时间
q = Question(question_text="What's new?",pub_date=timezone.now())
q.save() #把新建的q实例存储到数据库中
查看当前 Question 表所有的内容,看看是否添加成功
Question.objects.all()
增加条目关联条目
给 question 增加 choice ,一般来说可以先给 choice 表增加一行,再绑定 question ,但是 django 推荐你使用下面这种方式。
通过
q.choice_set.create创建choice。
通过问题 id=1 获取 question
q = Question.objects.get(pk=1)
查看目前关联的所有 choice
q.choice_set.all()
增加一些choice
q.choice_set.create(choice_text='choice 1', votes=0)
q.choice_set.create(choice_text='choice 2', votes=0)
可以给新增加的 choice 赋值给对象 c
c = q.choice_set.create(choice_text='Just hacking again', votes=0)
通过 c 可以反向找到 question
c.question
#<Question: What's up?>
查看所有的 choice 、 查看 choice 个数 的内置函数
q.choice_set.all()
#<QuerySet [<Choice: Not much>, <Choice: The sky>, <Choice: Just hacking again>]>
q.choice_set.count()
#3
删除条目
删除内容为 “Just hacking” 开头的 choice 。
c = q.choice_set.filter(choice_text__startswith='Just hacking')
c.delete()
查看字段内容
先选取一个问题(id = 1)
q = Question.objects.get(pk=1)
使用 python 访问他的字段内容
q.id
q.question_text
q.pub_date
修改字段内容
q.question_text = "What's up?"
q.save()
更多的查询API
all、filter 返回列表、 get 返回一条
all 查看表中所有项目
Question.objects.all()
get 查询,使用 get 返回的是单个元素,
Question.objects.get(pk=1) #pk会默认匹配表的主键,这里是id
filter 获取指定 id
Question.objects.filter(id=1)
filter 通过前缀过滤 ,使用 filter 会返回 列表
Question.objects.filter(question_text__startswith='What')
filter 查询高级用法(查询最近一年的)
filter 支持使用双下划线查询子内容: 比如这里使用
choice.question.pub_date.year与current_year做比较
from django.utils import timezone
current_year = timezone.now().year
Choice.objects.filter(question__pub_date__year=current_year)
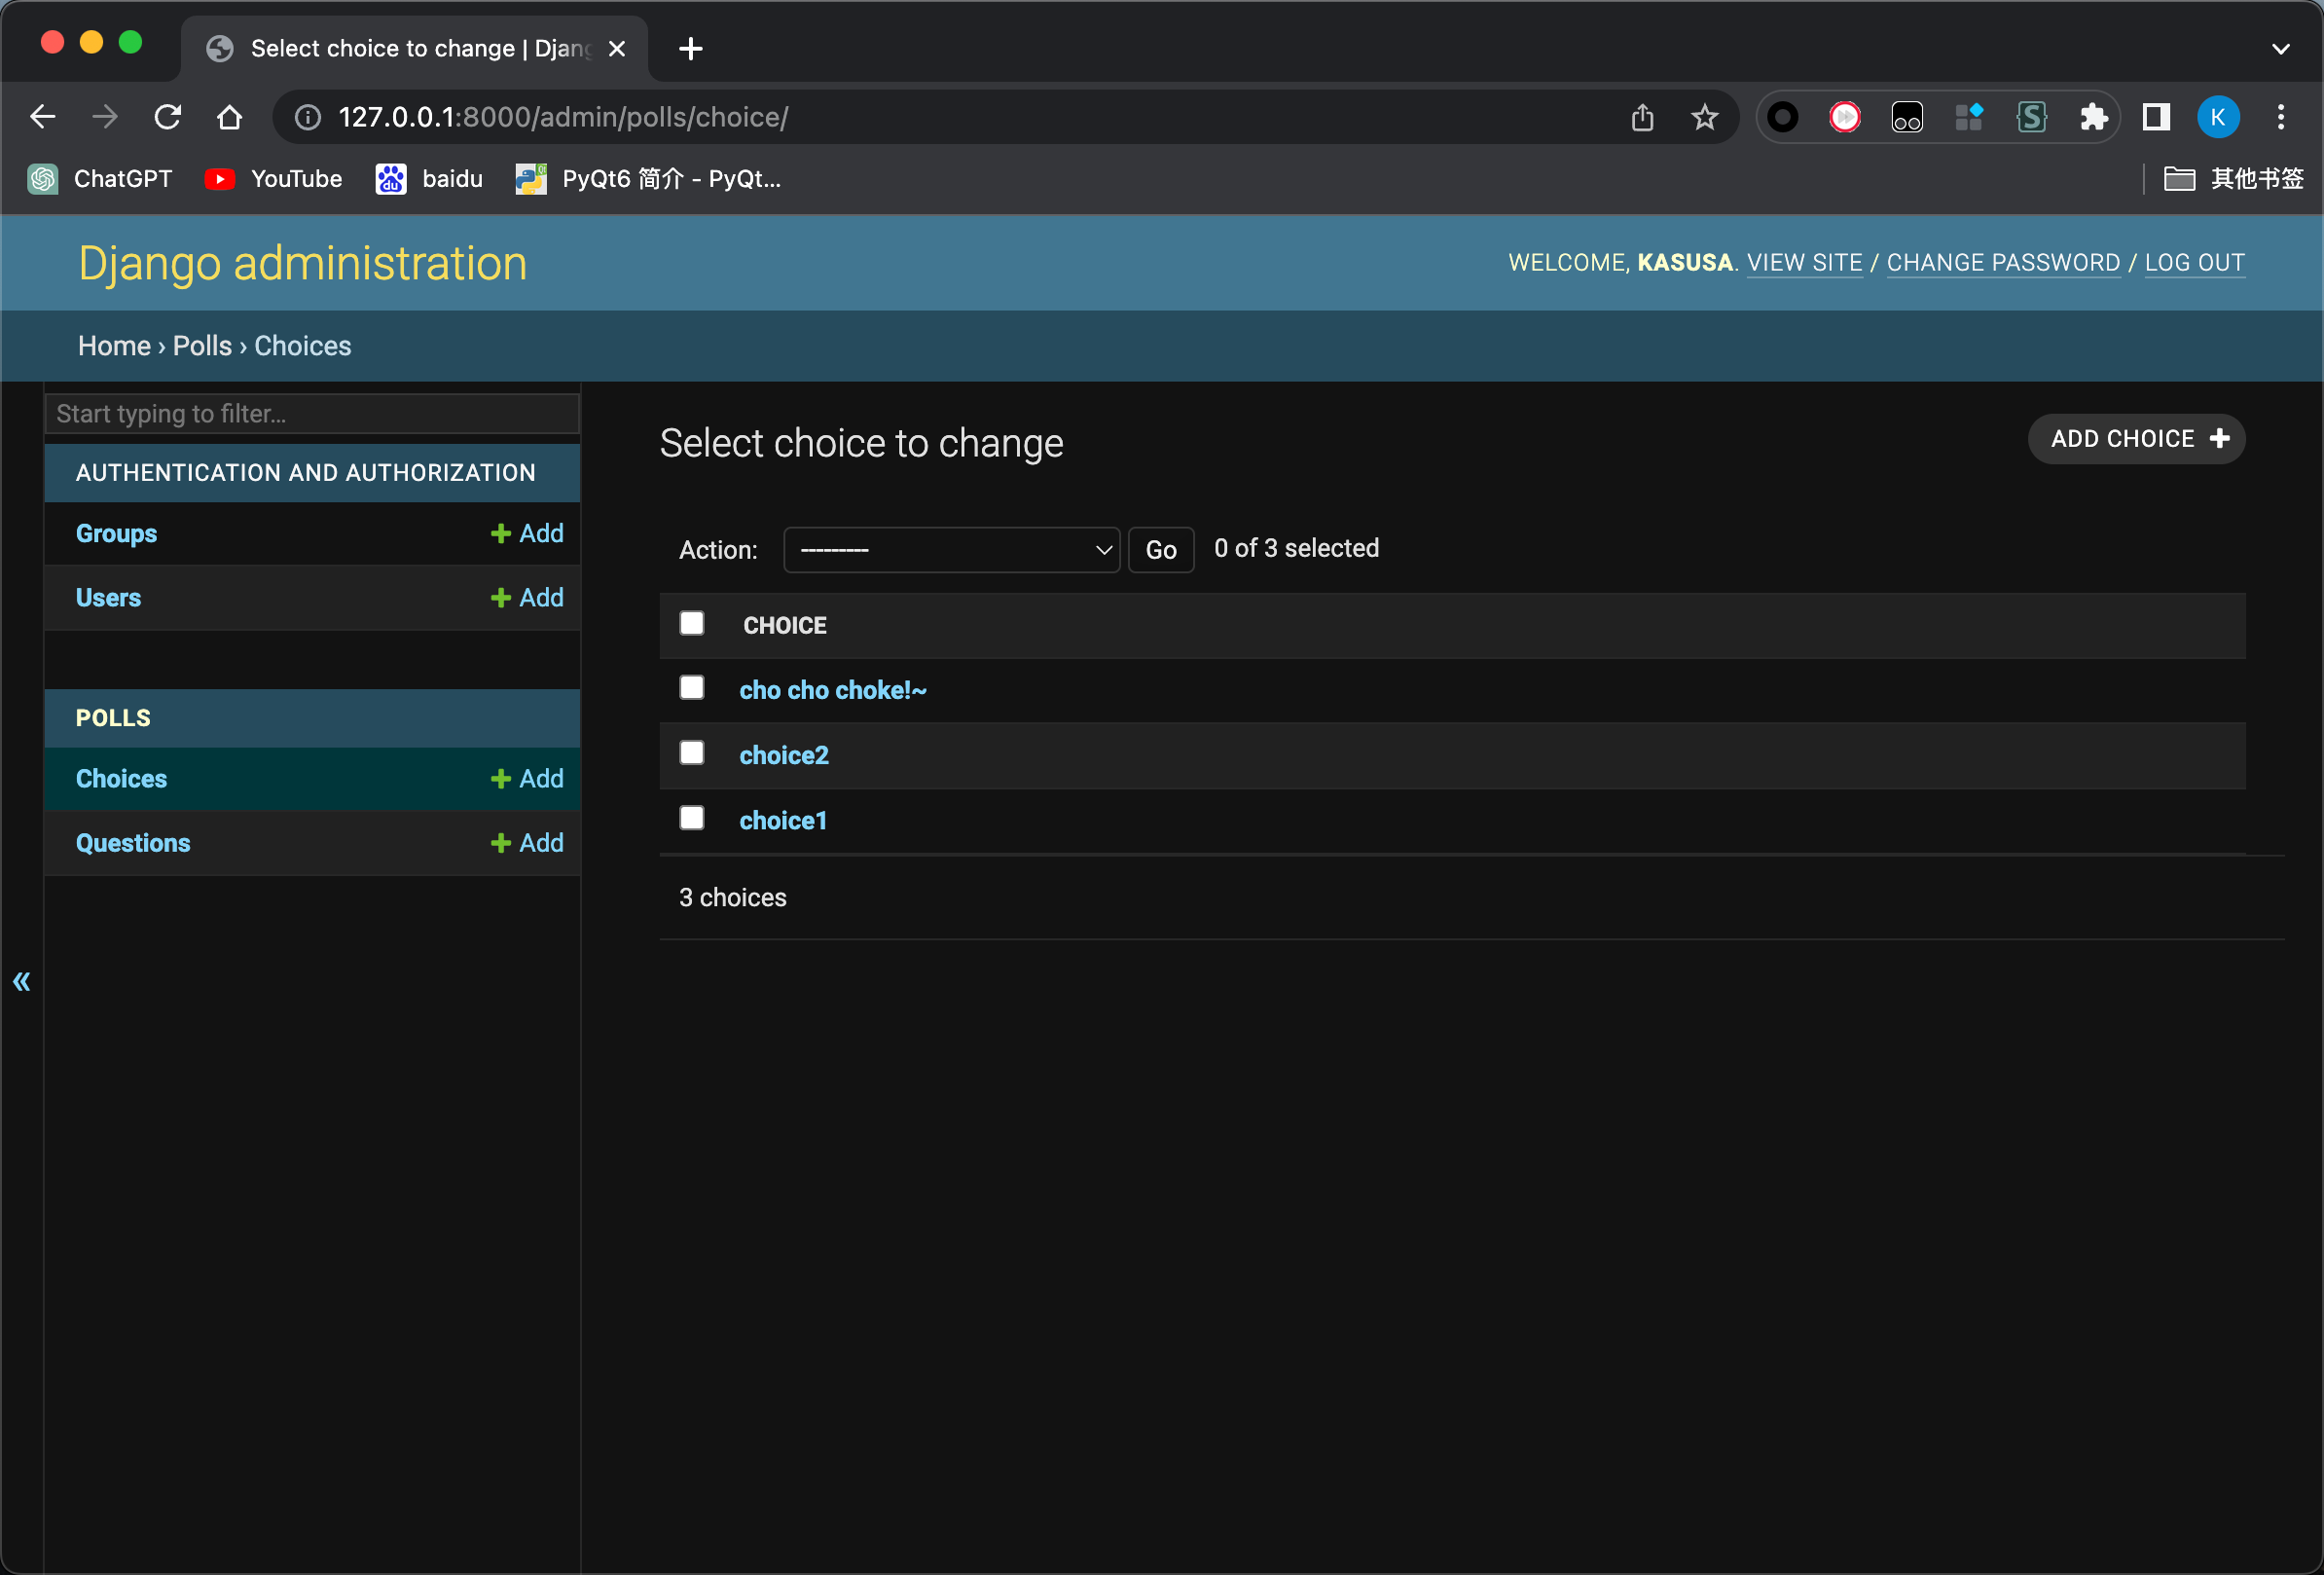
Admin 管理页面
django 可以给数据库自动生成管理页面(太棒啦!)
创建一个用户 , 用于登陆管理页面
python manage.py createsuperuser
启动
python manage.py runserver
但是里面没有我们创建的polls 应用!需要修改 polls/admin.py
from django.contrib import admin
from .models import Question,Choice
admin.site.register(Question)
admin.site.register(Choice)


view 视图
在上面“新建APP”章节已经讲过了 创建视图,但是仅能返回简单的字符串。
views.py
在polls/views.py增加三个function,代表三个页面,投票详情、投票结果、投票动作。
def detail(request, question_id):
    return HttpResponse(f"You're looking at question {question_id}." )

def results(request, question_id):
    return HttpResponse(f"You're looking at the results of question {question_id}.")

def vote(request, question_id):
    return HttpResponse(f"You're voting on question {question_id}." )
函数写法:
- 在
urls.py中会引用其函数名。 - 至少包括
request参数, - 必须返回
HttpResponse对象 - 可以加上自定义参数,比如这里的
question_id作为输入。
urls.py
修改文件: polls/urls.py
增加三个路由,/id投票详情、/id/results投票结果、/id/vote投票动作。
from django.urls import path

from . import views

urlpatterns = [
    #ex: /polls/
    path('', views.index, name='index'),
    #ex: /polls/5/
    path('<int:question_id>/', views.detail, name='detail'),
    #ex: /polls/5/results/
    path('<int:question_id>/results/', views.results, name='results'),
    #ex: /polls/5/vote/
    path('<int:question_id>/vote/', views.vote, name='vote'),
]
参数:
- url 路径
- 绑定的函数名称
- 用于联动模板的 name (可以省略) 如果是有参数的 url 路径,末尾的斜杠不能删
HTML 模板
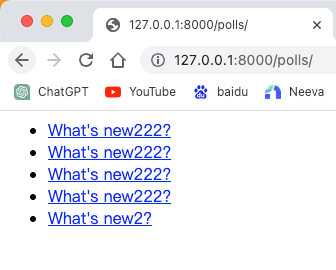
我们要把 index 修改一下,让他显示最新的五个问题,并且能跳转到问题细节。

在polls 下创建一个 templates/polls 文件夹,在里面新建一个 index.html
{% if latest_question_list %}
    <ul>
    {% for question in latest_question_list %}
        <li><a href="/polls/{{ question.id }}/">{{ question.question_text }}</a></li>
    {% endfor %}
    </ul>
{% else %}
    <p>No polls are available.</p>
{% endif %}
这里为了代码简短,展示核心代码功能,未为添加完整的 html 结构和 css ,这些都是很好修改和添加的。
然后更新一下 views.py , 让他使用这个模板
from .models import Question

def index(request):
    latest_question_list = Question.objects.order_by('-pub_date')[:5]
    template = loader.get_template('polls/index.html')
    context = {
        'latest_question_list': latest_question_list,
    }
    return HttpResponse(template.render(context, request))
- 用
数据库api来获取list,选取最新的 - 用
context将latest_question_list传递给 HTML 模板 - 用
render方法生成HttpResponse